
Dough and oven basics that make pizza repeatable
Two things carry a home bake: dough that has had enough time, and a surface that is properly hot when the dough lands on it. Everything below is what we teach at the Chicago studio, written for a standard oven and a normal week.
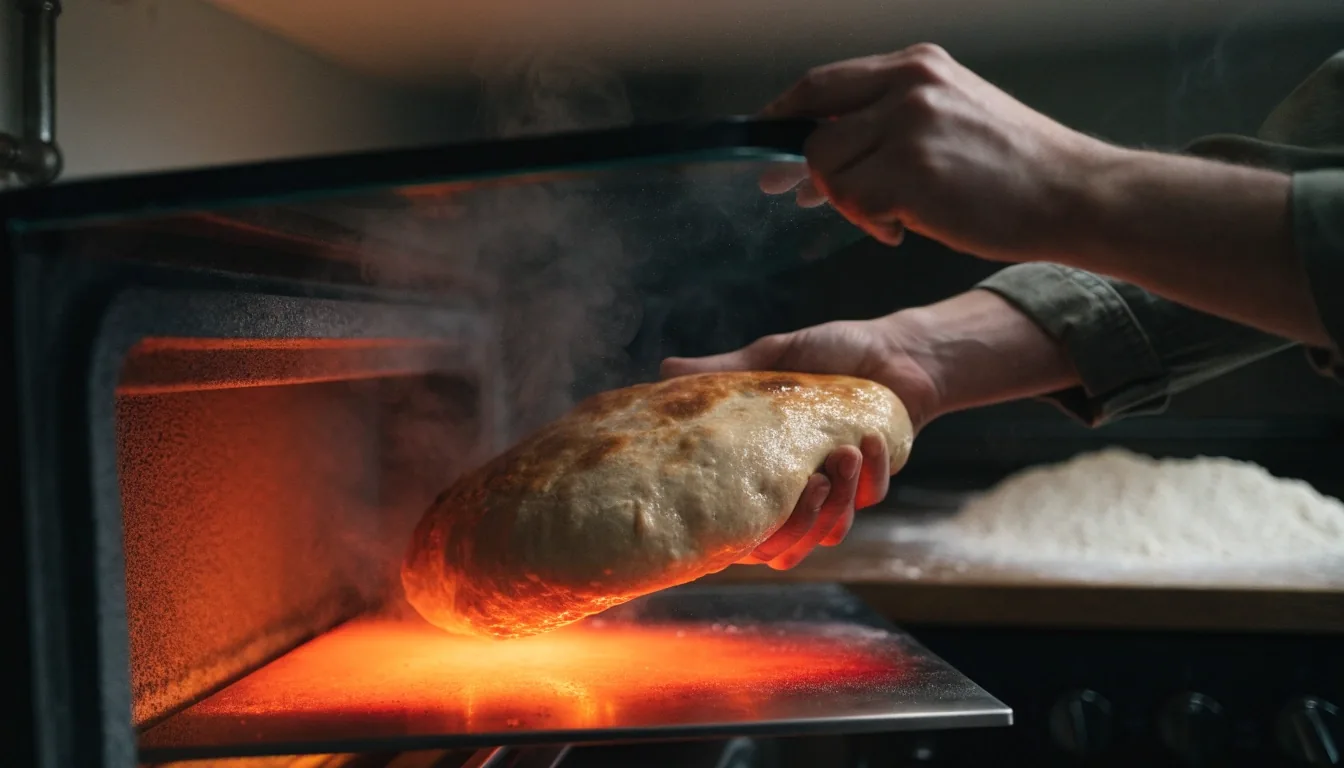
Key to the plate above
- A
- The blistered crown — fast heat on a well-fermented dough, never a long slow bake.
- B
- The pale rim just inside the edge — where a cool oven shows itself first.
- C
- The undercarriage — direct contact with the steel or stone is what crisps the base.
- D
- The oven door, cracked at the end — your only chance to add top colour.
- E
- Warm air pooling at the top of the cavity — why the rack sits in the upper third.
- F
- The steel itself, still holding heat between bakes — it gives it back to the next base.
- G
- Flour dust in the light — the bench mark of a dough that was never over-handled.
Reading the plate before you bake is most of the lesson. Hover a letter to lift its line.
Hydration, explained without the math panic
Hydration is the weight of water as a percentage of the weight of flour. A dough at 65 percent hydration uses 65 grams of water for every 100 grams of flour. Higher hydration gives a more open crumb and a lighter crust, but it is also stickier and harder to shape.
Beginners do better at moderate hydration and move up once their hands know what a properly developed dough feels like. High-hydration dough is a skill, not a badge — and the difference between 65 and 75 percent is felt in the wrist long before it is tasted.
- Around 60 percent
- Firm and forgiving. A good first dough to shape by hand.
- Around 65 percent
- The studio default. Opens the crumb without fighting your hands.
- Around 75 percent
- Sticky and fast-moving. Learn stretch and fold before you go here.
Why you should weigh your flour
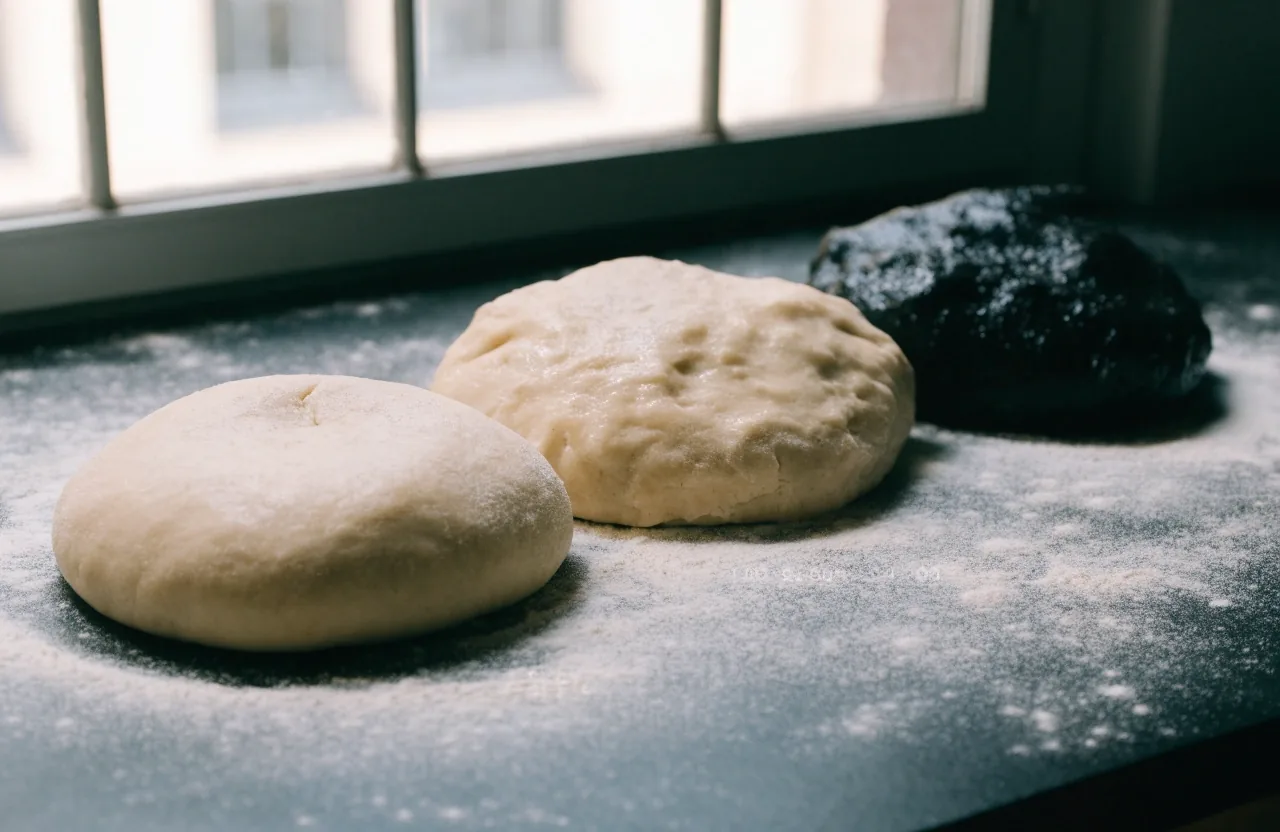
Volume measuring of flour is unreliable because flour compacts. A cup scooped from a fresh bag can weigh noticeably more than a cup spooned and leveled, and that difference changes your hydration without you knowing.
A digital scale removes the guesswork for a small cost, and it is the one piece of equipment we tell every student to buy first. Weigh the flour, weigh the water, and your dough becomes repeatable instead of lucky. Nothing else in the kitchen repays the money as fast — a scale that reads to one gram is enough, and it outlives every mixer you will ever own.
Scooped straight from the bag
The cup packs itself as you drag it through the flour. You can quietly add several grams per cup, and every extra gram pulls your hydration down.
Spooned and leveled
Closer, but still a guess — how much you tap the cup changes the number. Two bakers can follow the same recipe and land on different doughs.
Weighed on a scale
Flour and water are both in grams, so hydration is a real figure you can change on purpose instead of a guess you repeat by accident.
If you only change one habit after reading this page, change this one. See how a weighed dough behaves after a cold ferment.
Cold ferment pizza
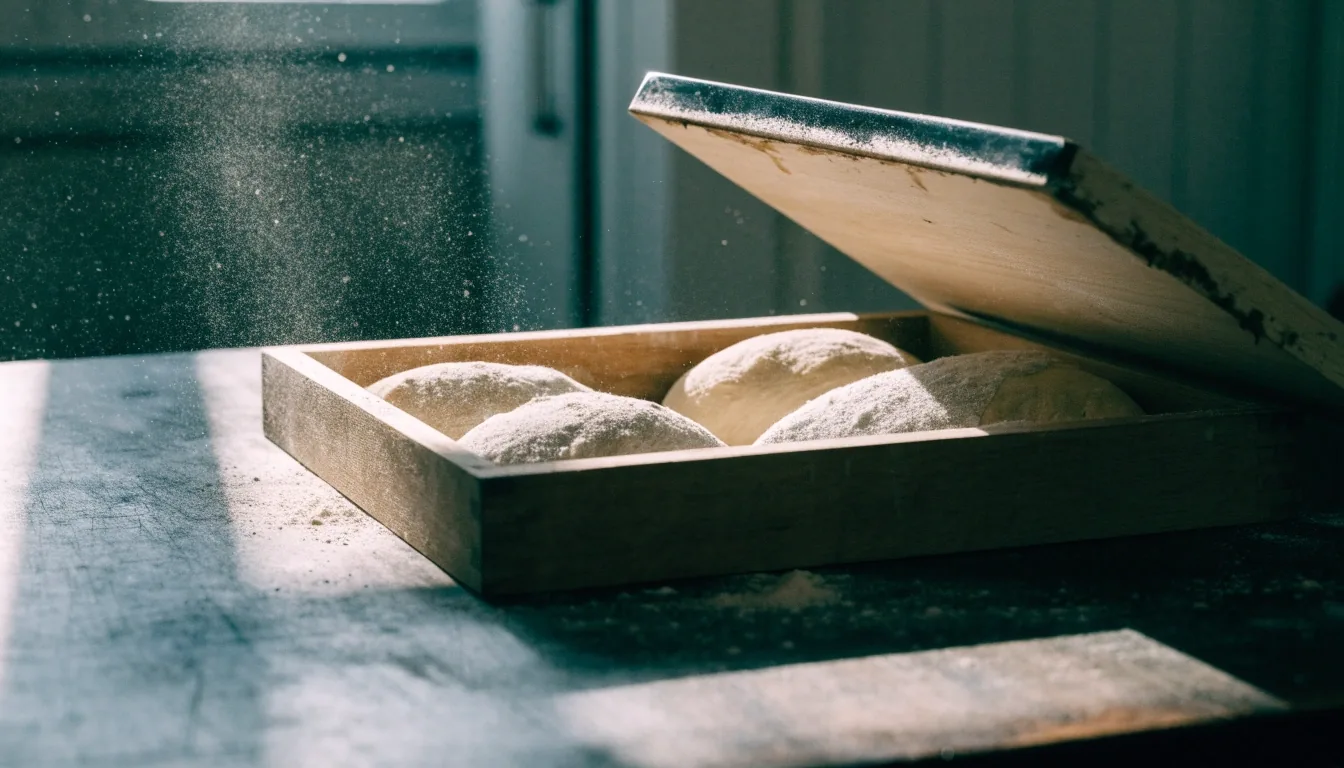
A cold ferment means the dough spends time in the refrigerator before baking, usually a day or more. That time develops flavor and relaxes the gluten, which makes the dough easier to shape and more likely to puff under heat.
It also separates mixing from baking, so you can mix on a Thursday and bake on a Saturday without blocking out an afternoon. For most home cooks, cold ferment is the single biggest improvement available, and it costs nothing but planning. A dough mixed on Thursday is ready to shape on Friday evening and still good on Saturday night — the fridge is far more patient than a warm counter.
Stretch and fold
Stretch and fold is a gentle way to build dough strength without kneading for ten minutes. It suits home bakers because you can do it between other tasks instead of standing over a counter.
- i Wet your hand so the dough does not stick, then lift one side of the dough from the bowl and stretch it upward until you feel it resist.
- ii Fold that stretched section over the center of the dough. Do not tear it — if it resists hard, the dough needs a rest, not more force.
- iii Rotate the bowl a quarter turn and repeat around the whole round, so the dough closes over itself in four directions.
- iv Cover the bowl and walk away. A few rounds spaced out over the first hour build the structure that lets the dough hold gas and stretch without tearing.
- v Stop when the dough pulls smooth and holds a soft shape. More rounds are not better — the dough is ready when it stops feeling slack.
Proofing and knowing when dough is ready
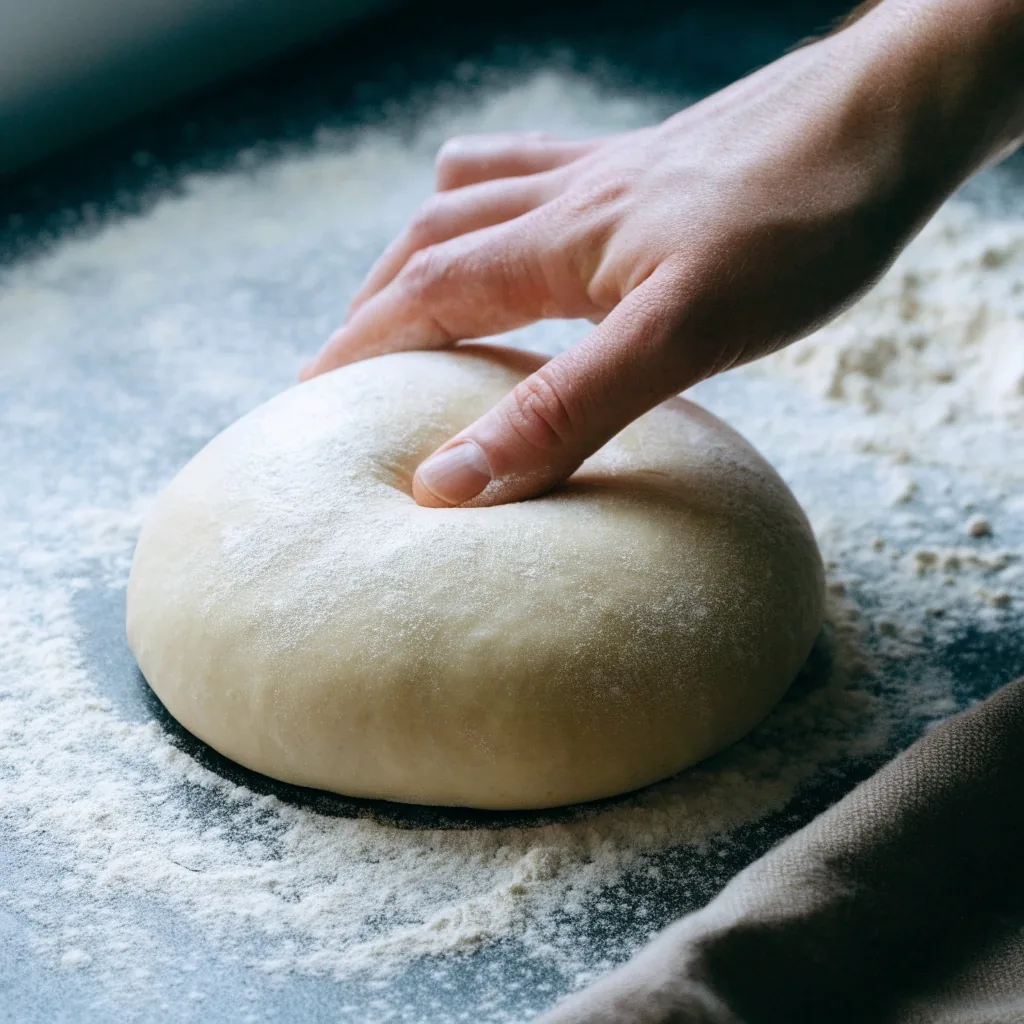
Proofing is the final rise before shaping, and the clock is a rough guide at best. Kitchen temperature moves the timeline more than most recipes admit, which is why two bakers following the same written schedule end up with very different dough.
Look for a dough that has grown visibly, feels airy, and springs back slowly when you press it. If it springs back fast, it needs more time. If it collapses when you press it, it has gone too far and will bake flat. Learning that read is worth more than any timer — a dough left to over-proof is the one mistake that cannot be repaired at the oven.
- Springs back fast
- Under-proofed. Cover it and give it another thirty minutes.
- Springs back slowly
- Ready to shape. Move it to the bench before it changes its mind.
- Collapses under the finger
- Past its peak. Bake it anyway and expect a flatter base.
Pizza steel versus bake stone
A pizza steel heats faster and transfers heat into the base more aggressively than a bake stone. That means a crisper bottom and a shorter bake, which is why we recommend steel for most home ovens. A stone works well too, especially if you already own one, and it holds heat longer between bakes.
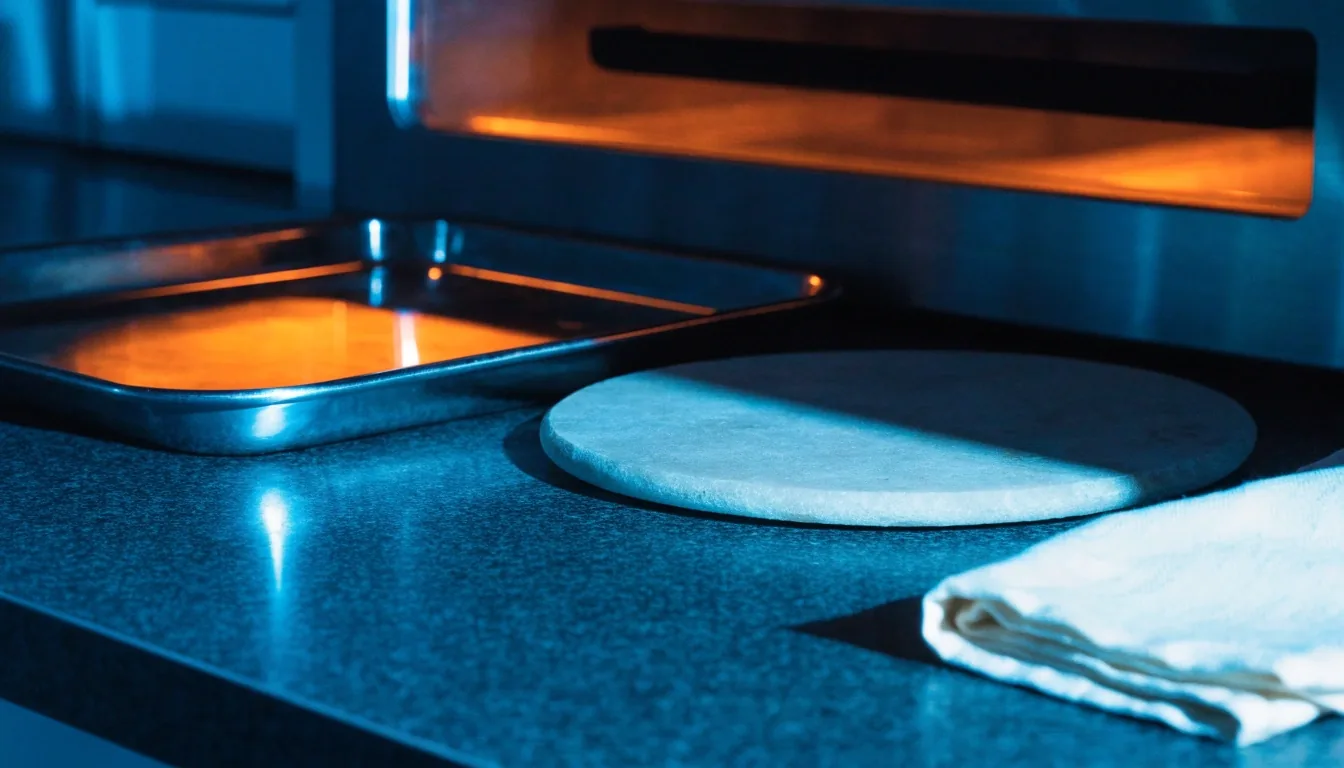
- How fast it heats up
- Steel reaches temperature sooner and recovers between bakes faster than a stone of similar thickness.
- How it treats the base
- Steel pushes more heat into the dough, so the bottom crisps sooner and the bake is shorter. A stone is gentler and needs the extra time.
- What to buy first
- If you are buying new and your oven fits it, steel. If a stone is already in your cupboard, use it before spending anything.
- What both demand
- A long preheat, often a full hour at your oven's maximum. An underheated surface is the most common cause of a pale, soft bottom.
Whichever you own, the rule is the same: give the surface an hour and stop checking on it. Opening the door during the first few minutes is the fastest way to undo the preheat.
Getting a blistered crust and a crisp bottom
Blistering comes from fast heat on a well-fermented dough, and a crisp bottom comes from direct contact with a hot surface. Those two goals push in the same direction: bake hot and short.
A longer bake at a lower temperature dries the crust out before it browns, which is why a pale, leathery base usually means the oven, not the recipe. Put wet or sugary toppings on after the oven, not before. If your cheese is browning before your base is set, your surface is not hot enough — finish the pizza with the broiler if your oven has one, and watch it the whole time.
Oven setup for a standard kitchen
Put the steel or stone on a rack in the upper third of the oven and preheat at maximum for at least an hour. If your oven has a broiler, you can switch it on briefly near the end of the bake for top color, but watch it closely. Do not open the door during the first few minutes. If your oven runs cool, a longer preheat helps more than a higher setting that it cannot actually reach.
- Placement
- Upper third, so the top heat reaches the crown while the base sits on the steel.
- Preheat
- A full hour at maximum, longer if your oven runs cool.
- The door
- Shut for the first few minutes. Every peek drops the heat you spent an hour building.
Common mistakes and how to fix them
Almost every home pizza problem traces back to time or heat, and both are fixable. Read the symptom, find the cause, and change one thing next bake instead of three.
Wet, pale bottom
The surface was not hot enough or was not preheated long enough. Give it a full hour next time and stop opening the door to check.
Dough tears while shaping
Not enough rest. Cover it and let it sit for fifteen minutes, then try again — the gluten relaxes and the round will hold.
Crust tastes flat
The ferment was too short. Give it a day in the fridge. Flavour is built in the cold, not in the last hour before baking.
Toppings steam and the center sags
Too much moisture went on before the bake. Drain wet ingredients and keep the middle of the pie lighter than the rim.
Cheese browns before the base sets
Your surface is not hot enough to crisp the bottom in time. Push the preheat longer, and hold the cheese back until the base has had its heat.
The base burns before the top colours
Usually a rack set too low. Move the steel up a level, and if your oven has a broiler, use it briefly at the end rather than baking longer.
Questions we get at the bench
These come up in nearly every class. If yours is not here, the studio answers email through the week and is happy to talk through your specific oven.
Ask a question about my ovenDo I need a mixer to make good dough?
No. Stretch and fold builds the strength a mixer would build, and it fits around other tasks. A bowl, a scale and your hands are enough for a cold-fermented dough.
How long can dough stay in the fridge?
A day or two is the comfortable range for most home fridges. Past three days the dough starts to slacken and smells sharply of yeast; it will still bake, but the shape gets harder to hold.
My oven only reaches about 500F. Is that enough?
Work with what the oven actually reaches rather than the number on the dial. A long preheat at its real maximum plus a hot steel on the upper-third rack will still give you a crisp base and a blistered crown.
Can I use the same dough for a thicker style?
Yes, with adjustments. A pan style wants a slightly lower hydration and a longer, slower bake so the middle sets before the edge burns. The pizza styles guide walks through the differences.
Where to go next
Start with a weighed dough and a cold ferment, then set your oven's upper third and give the steel a full hour. If you want hands on the dough with someone watching your technique, the Chicago studio runs dough classes through the week and answers oven questions by email.
Visit us at 1290 North Wells Street, Chicago, IL 60610, or call +1-312-555-0723 during studio hours, Monday to Friday, 9:00 AM – 6:00 PM.